Flushed Look Makeup — the one where someone seems like they just came in from the cold, or got caught laughing at something a little too funny, and their cheeks are doing all the talking? That’s the flushed look, and it might be the single most flattering thing you can do with a makeup brush.
It’s not a trend that’s going anywhere either. From K-beauty’s “melted flush” technique to the viral “just bumped into my crush” cheek tint, makeup artists describe the goal as a diffused, soft finish that looks like nature intended rather than a heavy application. That’s exactly what makes it so universally loved — it works whether you’re running errands, heading into the office, or getting ready for a night out. Dermstore
Flushed Look thing though: getting that “just naturally glowing” flush to actually look natural takes more finesse than people expect. Too much and you’re in blush-clown territory. Too little and it disappears by lunch. Below are 13+ flushed look makeup ideas, broken down by technique, product type, and vibe, so you can find the one (or five) that fit your face and your morning routine.
Save this guide — you’ll want to come back to it next time you’re standing in front of your vanity trying to decide between cream and powder blush.
What Is the “Flushed Look” Makeup Trend (and Why It’s Everywhere)
The flushed look is exactly what it sounds like: makeup designed to mimic the natural rush of color your skin gets when you’re warm, happy, or a little breathless. Instead of sharply contoured cheekbones or a heavy matte base, the focus shifts almost entirely to soft, diffused color living right where blood naturally rises to the surface of your skin — the apples of your cheeks, the bridge of your nose, sometimes even your eyelids and chin.
Part of the appeal is how low-effort it looks while still making a real difference. A well-done flush can visually “wake up” tired skin, add warmth to a pale complexion, and soften harsh features, all without a single sharp line. It’s also part of why the “no-makeup makeup” and clean-girl aesthetics have stayed so popular — the flushed look is arguably the engine behind both of them.
Blush Formulas You Should Know Before You Start
Before jumping into specific looks, it helps to understand your options, because the formula you choose changes the entire finish.
- Powder blush – The classic choice. Buildable, long-wearing, and the most forgiving for beginners because it’s easy to control.
- Cream blush – Melts into skin for a dewy, “your skin but better” finish. Best applied with fingertips for warmth-activated blending.
- Liquid & lip-and-cheek tints – Sheer, buildable, and often multi-use. A favorite for the “melted flush” technique, where color is dabbed on and blended before it sets.
- Blush stick – A hybrid of cream and powder in stick form, great for quick, on-the-go application directly onto cheeks.
None of these is objectively “best” — the right formula depends on your skin type and how much time you have. Dry skin tends to look more radiant with cream or liquid formulas, while oily skin often holds powder blush longer.
How to Prep Your Skin for the Perfect Flush
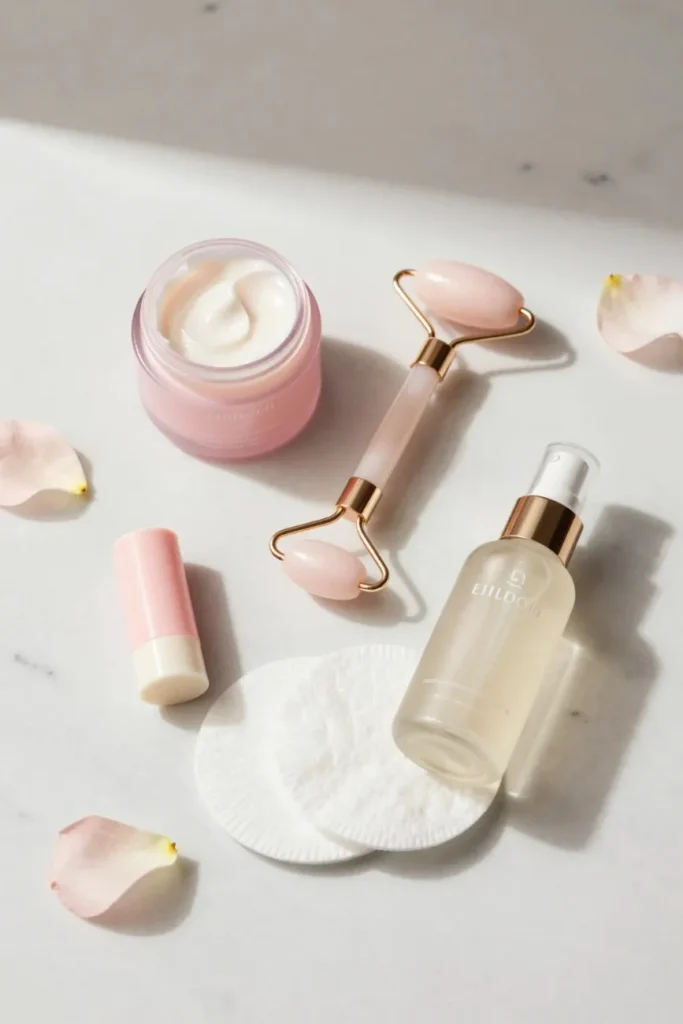
A flushed look lives and dies by the base underneath it. Skip this step and even the best blush will sit awkwardly instead of melting in.
- Moisturize generously. Flushed makeup relies on skin looking plump and hydrated, not matte or flat.
- Keep your base light. Tinted moisturizer, a skin tint, or a thin layer of foundation lets the blush read as natural instead of painted on top of a mask.
- Skip (or go easy on) heavy setting powder over your cheeks specifically — you want that slightly dewy finish that photographs like real skin.
Quick tip to save for later: if your skin is on the drier side, mist your face lightly with a hydrating setting spray right before applying cream or liquid blush — it helps the color blend without dragging.
13+ Flushed Look Makeup Ideas to Try
Here’s the full list. Some of these are full looks, others are techniques you can mix into whatever makeup you’re already wearing.
1. The Barely-There Flush
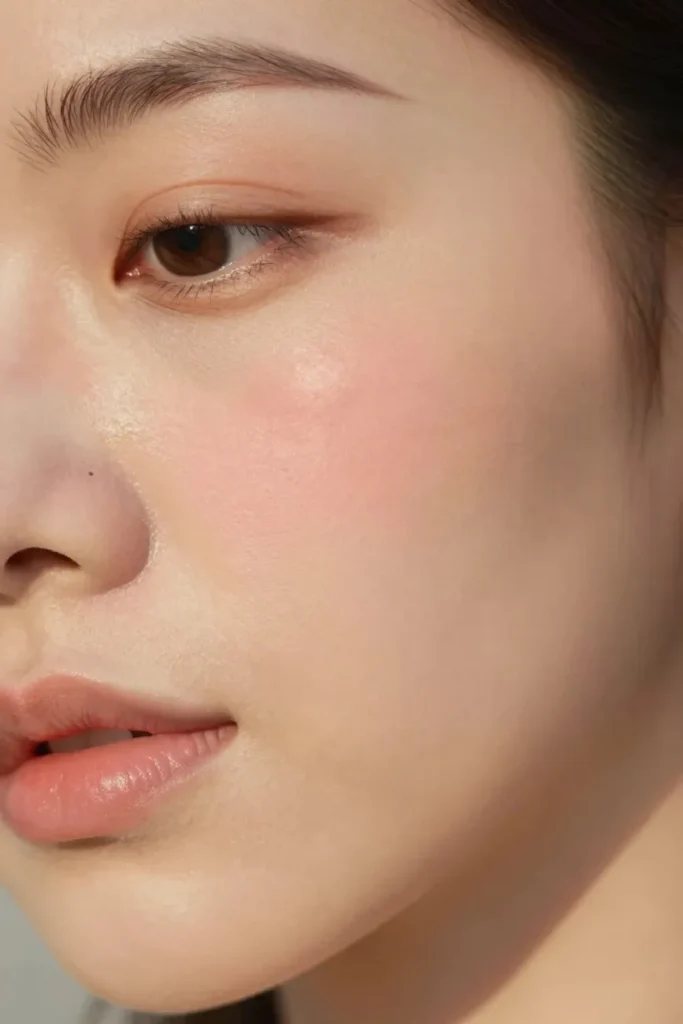
Sheer coverage tinted moisturizer, a whisper of blush on the apples of your cheeks, and nothing else. This is the most low-maintenance version of the trend and works beautifully for errands, workouts, or lazy Sundays when you still want to look put-together.
2. The Monochrome Flush
Pick one soft pink or rosy shade and use it on both your cheeks and your lips for a cohesive, effortless finish. This look pairs especially well with sleek, low-key hair and reads as polished without trying too hard — perfect for the office or a coffee catch-up.
3. The Melted Flush (K-Beauty Technique)
Dab a cream or liquid blush directly onto the highest points of your cheeks using your fingertip, then pat and blend outward before it sets. This technique is a favorite in Korean beauty routines for achieving a natural, dewy cheek color, and it gives you that “melted into skin” glow rather than a distinct blush shape. TikTok
4. The Sun-Kissed Coral Flush
Swap your usual pink for a warm coral or peachy shade, applied to the apples of the cheeks and blended out toward the temples. It reads as a healthy, sunny glow and looks especially good against a bronzed base — this one is a favorite for spring and summer looks.
5. The Terracotta Mediterranean Flush
A slightly deeper, warmer take on the coral flush, using terracotta or brick-toned blush blended generously across the cheeks. It’s richer and a little more dramatic than the barely-there version, but still soft-edged and diffused rather than sculpted.
6. The Cream Blush Glow
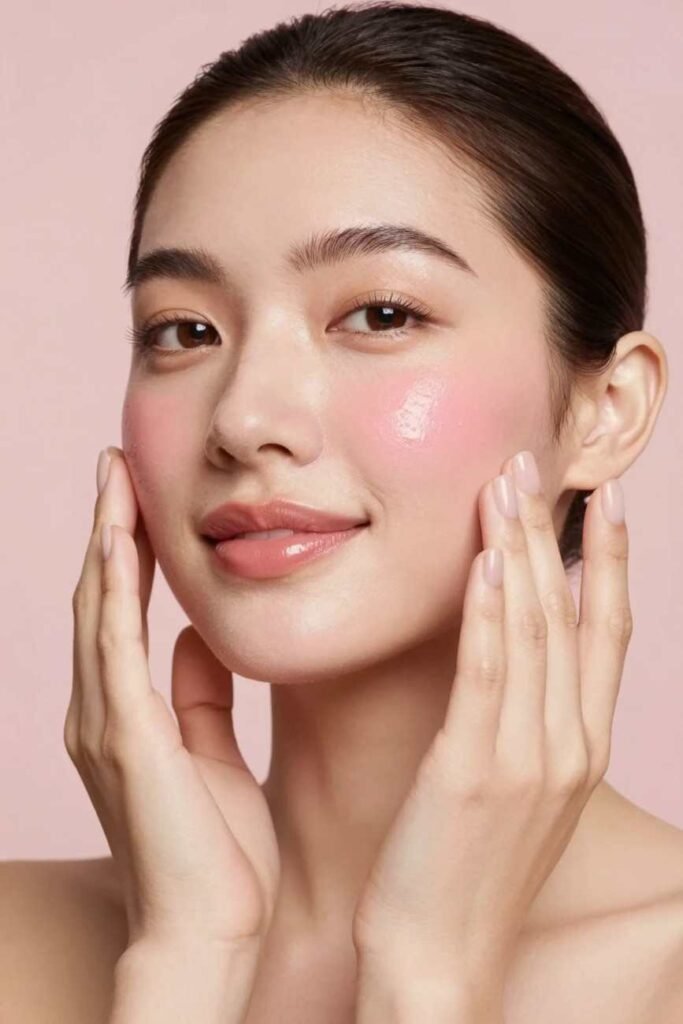
Apply a lightweight cream blush with your fingertips and blend upward toward the temples for a youthful, “your skin but flushed” finish. Cream formulas tend to look the most like an actual flush because they sit into the skin rather than on top of it.
7. The Glossy Lip and Cheek Combo
Pair a soft powder blush with a clear or lightly tinted lip gloss. The shine on your lips echoes the softness of the blush, and together they create a fresh-faced, romantic finish that works for daytime or a low-key date night.
8. The Multi-Stick Flush
Use a cream or balm-style multi-stick on cheeks, eyelids, and lips in the same shade for an effortless, monochromatic wash of color. This melted blush technique using multi-sticks has become popular because it cuts an entire routine down to one product. TikTok
Read More : makeupbloomhub
9. The Bronzed Flush
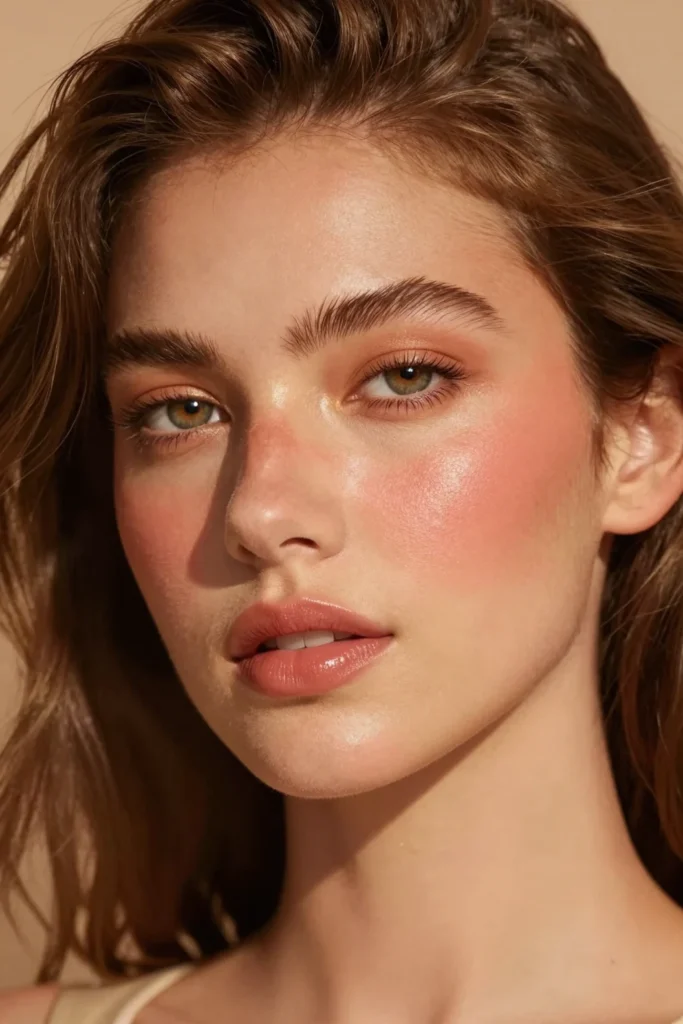
Layer a warm bronzer along the perimeter of your face, then add a pop of pink or coral blush directly on the apples of your cheeks. The contrast between the warm bronzer and the brighter blush is what creates that “just came back from vacation” effect.
10. The Draped Blush
Instead of concentrating color only on the apples, sweep blush from your cheekbones up toward your temples and even lightly onto your eyelids in a soft diagonal line. It’s a slightly more editorial take on the flush and adds subtle lift to the face.
11. The Glowy Blush-and-Highlight Duo
Combine a buildable, blendable blush with a soft shimmer highlighter on the tops of your cheekbones, the inner corners of your eyes, and your brow bone. The shimmer step takes just 20–30 seconds and adds the luminous, lit-from-within quality that defines the glowy version of this look. This combo is the one to try when you want the flush to photograph really well. Brittany Cosmetics
12. The Cool-Toned Berry Flush
For deeper or cooler undertones, swap warm pinks for mauve, berry, or plum-toned blush. Makeup artists often recommend mauves, berries, and brick shades specifically for warm or olive undertones, and a berry flush tends to look richer and more sophisticated for evening. Dermstore
13. The Freckled Flush
Combine your blush look with a few faux freckles (drawn with a fine brow pencil or specialty freckle pen) dotted lightly across the nose and cheeks. It’s a playful, youthful spin on the trend that’s especially popular for spring and summer content.
14. The Cheeks-and-Nose Flush
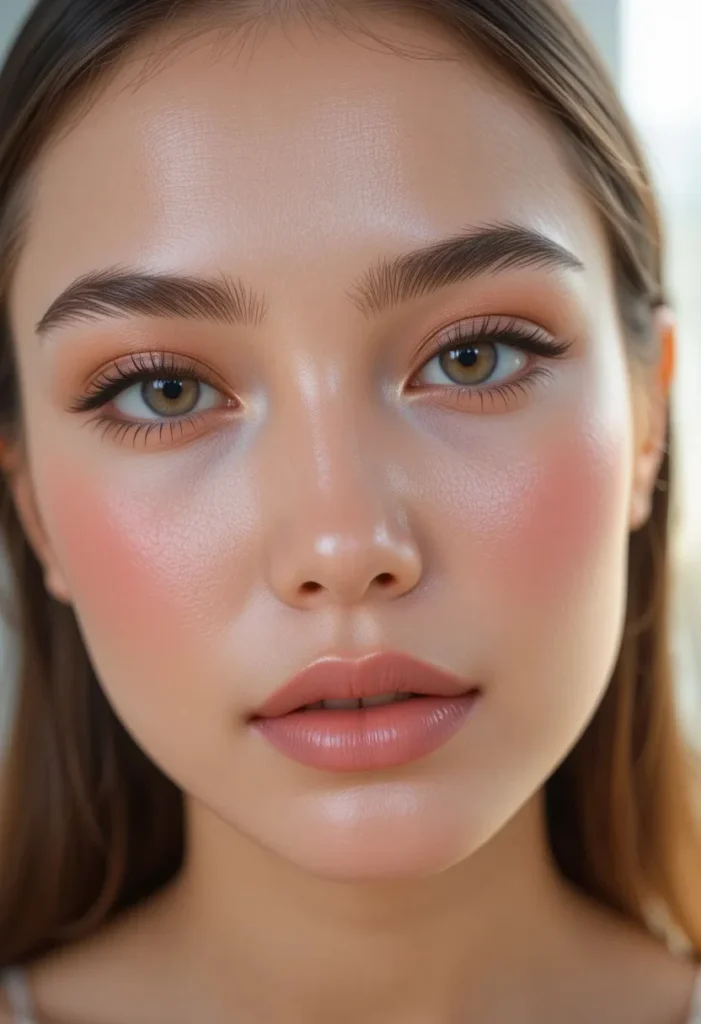
Add a small amount of blush to the bridge and tip of your nose in addition to your cheeks, blending well so there’s no harsh edge. This mimics the way skin actually flushes from sun or cold and adds a subtle, believable warmth to the whole face.
15. The Minimal Winter Flush
A slightly cooler-toned pink blush applied high on the cheekbones, paired with a natural brow and a tinted lip balm. It nails that “just came in from the cold” energy that makes the flushed look so universally relatable — and it’s an easy five-minute look for busy mornings.
Blush Placement by Face Shape
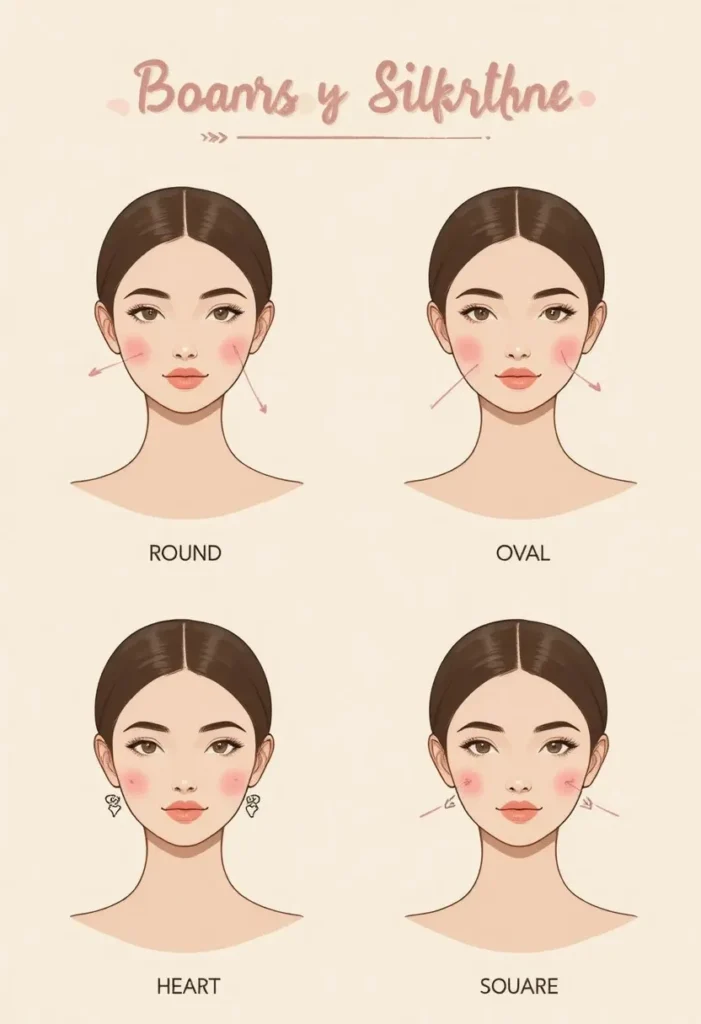
Where you place your blush changes the effect just as much as the shade you pick:
- Round faces – Apply slightly above the apples, blending up toward the temples to add subtle lift.
- Long faces – Keep blush more horizontal across the apples of the cheeks rather than sweeping upward, which helps balance length.
- Heart-shaped faces – Focus color on the apples and blend outward gently to soften a pointed chin.
- Square faces – Blend blush in soft circular motions on the apples to round out stronger jaw angles.
Common Flushed-Look Mistakes to Avoid
Here’s the thing: the flushed look is forgiving, but a few small mistakes can push it from “natural glow” into “overdone” fast.
- Skipping skin prep. A natural-looking flush starts with skin that’s prepped and hydrated before any blush goes on — applying blush over dry, flaky, or heavily matte skin will look patchy. IPSY
- Applying too much too fast. Build color in thin layers, especially with cream or liquid formulas, since they’re harder to remove once applied heavily.
- Using the wrong undertone. A blush that clashes with your skin’s undertone can look chalky or costume-like instead of natural.
- Hard edges. The entire point of this look is diffusion — always blend outward with a brush, sponge, or fingertip so there’s no visible line where the blush stops.
- Forgetting your neck and ears. A flush that stops abruptly at your jawline can look disconnected from the rest of your skin, especially in photos.
Frequently Asked Questions
What’s the difference between a “flushed look” and regular blush?
Regular blush application often focuses on contouring or sculpting the cheekbones. The flushed look specifically mimics a natural, all-over warmth — soft, diffused, and concentrated where skin naturally reddens, rather than shaped or sharply defined.
Is cream or powder blush better for a flushed look?
Cream and liquid formulas tend to create the most realistic “flush” effect because they melt into the skin rather than sitting on top of it. Powder blush is easier to control and better for oily skin or longer wear, so many people layer a little powder blush over cream for the best of both.
How do I make my blush last all day?
Prep skin well, apply a thin base layer, and set cream blush lightly with a translucent powder only over the very center of the cheek (not the edges, so it doesn’t lose its soft diffusion). Building color in light layers rather than one heavy application also helps it wear more evenly as the day goes on.
Can the flushed look work for mature skin?
Yes — in fact, a soft flush is one of the most flattering techniques for mature skin because it adds warmth and dimension without emphasizing texture the way heavy matte products can. Cream blush is usually the most flattering formula since it doesn’t settle into fine lines the way powder can.
Final Thoughts
The flushed look works because it doesn’t ask you to hide your natural coloring — it just borrows the idea of it and makes it a little more intentional. Whether you go for the barely-there version with a swipe of tinted moisturizer or the full glowy blush-and-highlight combo, the goal is always the same: soft, diffused color that looks like it belongs on your face, not painted over it.
Pick two or three of these ideas to try this week, and don’t be afraid to mix techniques — a monochrome lip-and-cheek look with a touch of the melted flush method, for example, is an easy way to build your own signature version of the trend.

