You’ve been applying blush wrong for years , and it’s not your fault. Every beauty tutorial from the last decade told you the same thing: smile, find the apple of your cheek, dab on some color, done. But that instruction is exactly why your blush looks flat instead of sculpted.
Here’s the thing: blush draping flips that entire rulebook. Instead of treating blush as a color, it treats blush as structure , the same way a sculptor treats stone. And once you see the difference between a “dabbed” cheek and a “draped” one, you can’t unsee it.
This guide breaks down 17+ blush draping technique ideas, organized by face shape, formula, and finishing effect, so you can pick the exact drape that flatters your bone structure instead of guessing. Stick around for the one most beginners get backwards (it’s technique #3, and it’s costing you the lifted look you’re chasing).
What Is Blush Draping, Exactly?
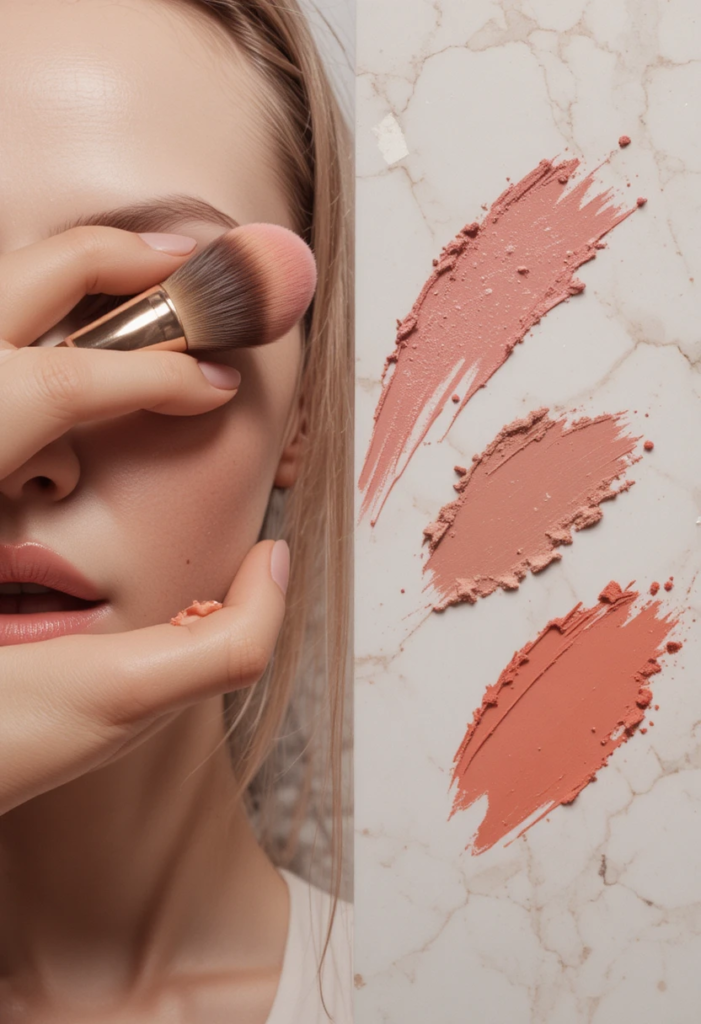
Blush draping , sometimes called “blown-out blush” , means sweeping color along and above the cheekbone, then blending it outward toward the temples or hairline, rather than concentrating it on the apples of the cheeks. The technique traces back to 1970s makeup artist Way Bandy, who used bold blush sweeps to sculpt icons like Cher long before bronzer contour was standard practice.
The core idea: blush isn’t just pigment. Placement changes how your face reads structurally. A horizontal sweep signals width. A diagonal pull toward the temple signals lift. A soft circular dab signals fullness. Same product, three completely different faces.
Before you drape, make sure your base is ready. A light layer of foundation or tinted moisturizer gives cream and powder blush something to grip, which is what keeps the drape smooth instead of patchy.
The 17+ Blush Draping Technique Ideas
1. The Classic Cheekbone Lift Drape
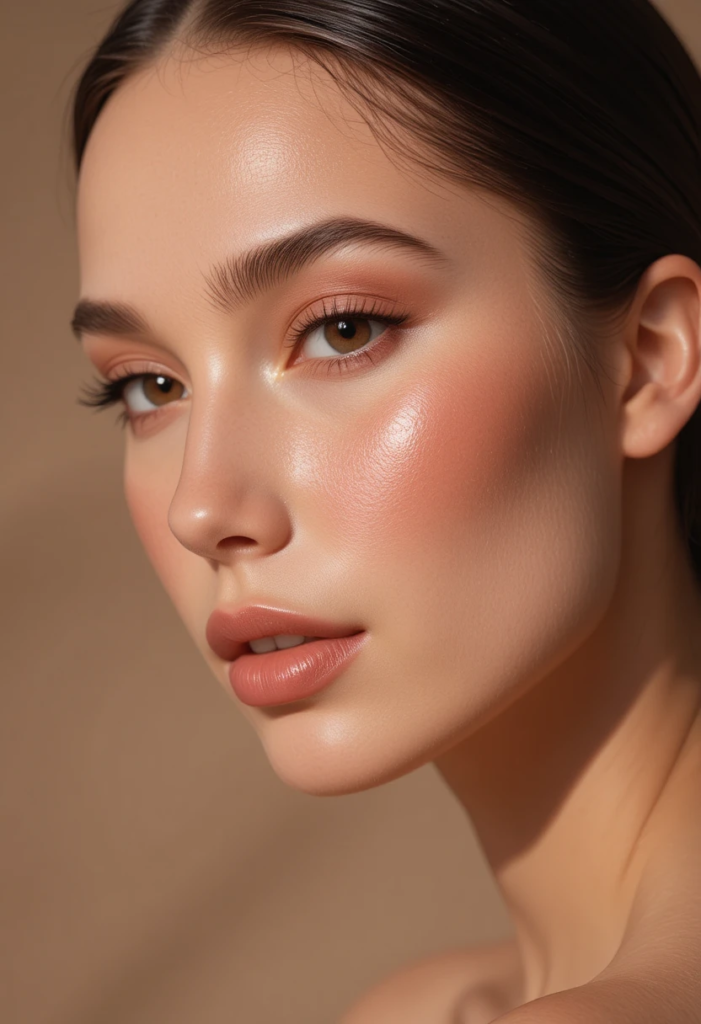
This is the foundational drape and the one to master before anything else. Sweep blush along the top of your actual cheekbone , not the apple , and blend upward toward your temple. The apple is flesh. The cheekbone is structure. Confusing the two is the single biggest reason a drape falls flat.
2. The C-Shape Temple Drape (Best for Heart Faces)
Start just above the cheekbone, roughly halfway between your nose and temple, then curve the color upward in a “C” toward the tail of your brow. This softens a wider forehead while keeping the cheekbones , heart faces’ best feature , front and center.
3. The Straight-Line Cheekbone Drape (Best for Round Faces)
Instead of rounding out the apple, run a straight or slightly diagonal line of blush from your ear toward the center of your cheekbone. This is the one technique tutorials get wrong most often: starting at the apple and blending up doesn’t lift anything, it just spreads color across a rounder area. Starting high and pulling outward is what actually elongates a round face.
4. The Soft U-Shape Under-Cheekbone Drape (Best for Square Faces)
Square faces have naturally strong, symmetrical angles, so the goal is softening rather than sculpting. Sweep blush in a wide, shallow “U” just beneath the cheekbone and blend thoroughly. Skip harsh edges here , any visible line will draw attention straight to the jaw, which defeats the purpose.
5. The Diagonal Sculpt Drape (Best for Long or Oblong Faces)
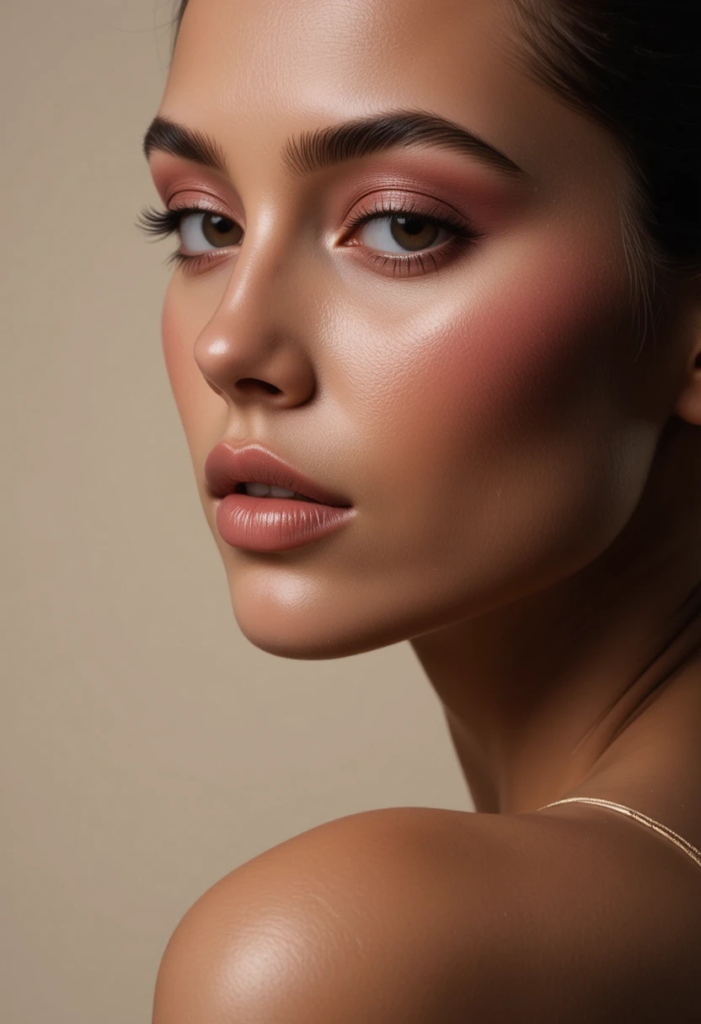
Long faces don’t need more length added by vertical blush placement. Instead, sweep blush horizontally across the width of the cheek, keeping the motion side-to-side rather than upward. This visually widens the mid-face and balances a longer bone structure.
6. The Oval Face Natural Curve Drape
Oval faces are the most flexible canvas for draping since the proportions are already balanced. Simply follow the natural curve of the cheekbone from apple to temple. Because almost any placement “works” on an oval face, this is actually where people get lazy , so still blend with intention rather than dabbing on autopilot.
7. The Diamond Face High-Point Drape
Diamond faces have prominent cheekbones and a narrower forehead and chin, so blush placed higher on the cheekbone photographs beautifully. Sweep color right along the highest point of the bone and blend lightly toward the temple without dragging it down toward the jaw.
READ also: 14+ Peptides in Skincare: Benefits, Types, and How to Use Them for Firmer, Younger-Looking Skin
8. The ’70s Bold Temple-to-Hairline Drape
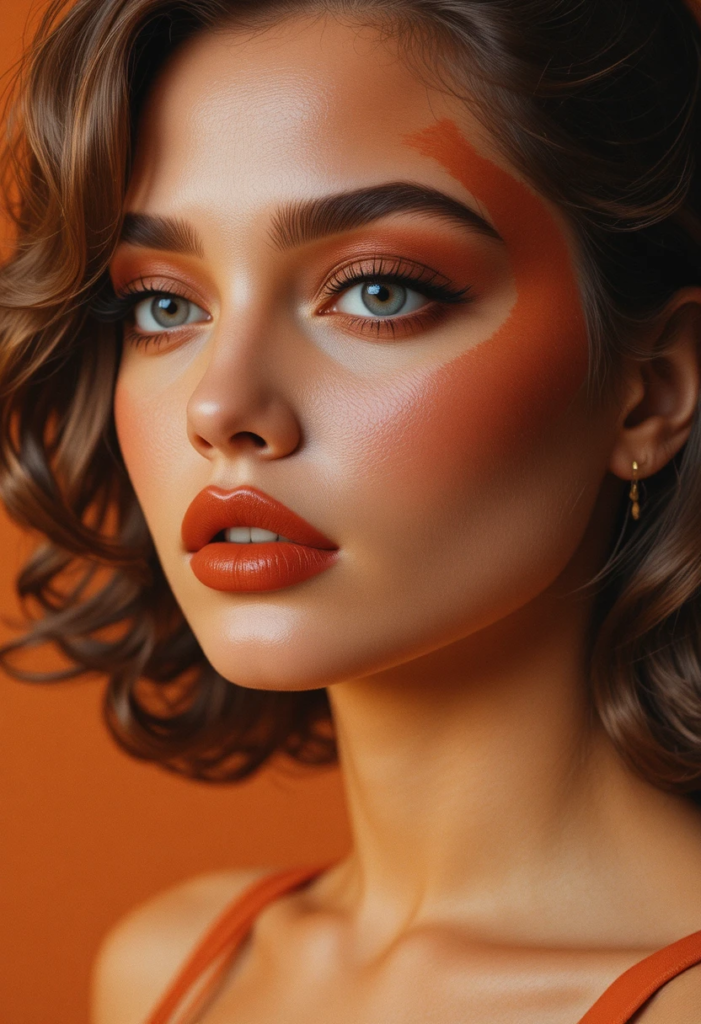
This is the original disco-era drape. Go darker than your everyday shade, sweep color from the cheekbone all the way up to the temples and hairline, and let the blush do double duty as your contour. Remember: downplay the rest of your makeup here, because the blush is the star of the look.
9. The Monochromatic Eyelid-and-Nose Drape
Take the same shade you used on your cheeks and lightly dust it across your eyelids and the bridge of your nose. This creates a cohesive, sun-kissed “one-color” face that’s become one of the most photographed variations of the trend.
10. The Sunburnt Blush Drape
A close cousin of the monochromatic drape: sweep a warm terracotta or rosy shade across the cheekbones, the bridge of the nose, and lightly across the shoulders of the forehead, mimicking a natural post-vacation flush. Keep edges soft and diffused , nothing here should look like a hard shape.
11. The Cold-Girl Subtle Drape
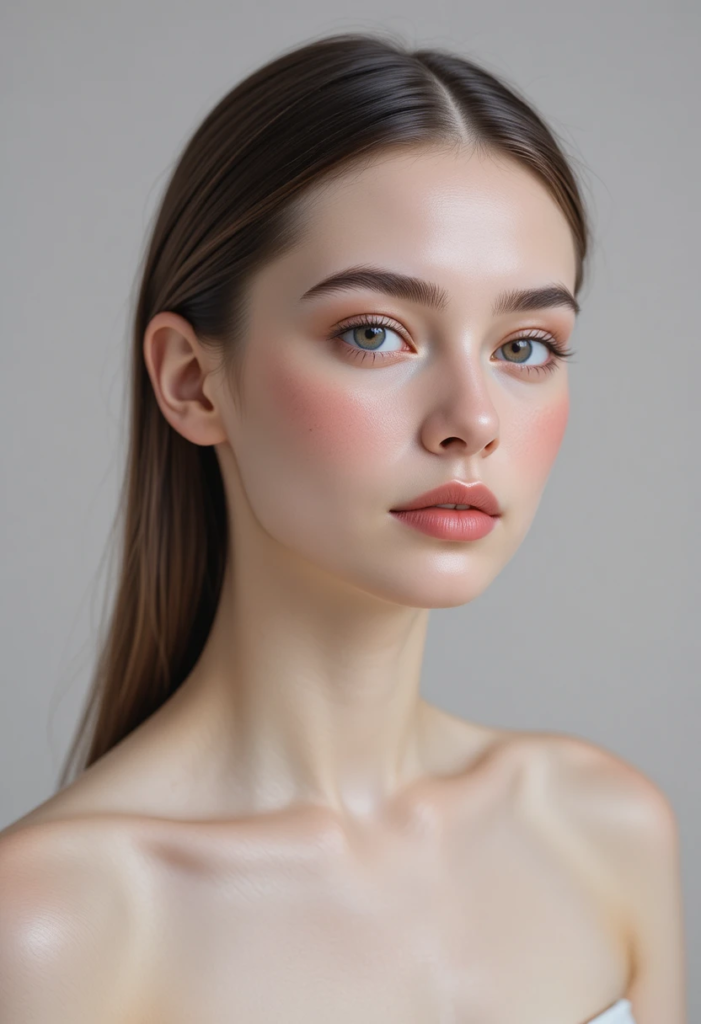
For a more muted, cooler-toned version, use a soft mauve or dusty pink cream blush and drape it high on the cheekbone with minimal product, blending until it nearly disappears into the skin. This is the quiet, no-makeup-makeup take on draping.
12. The Editorial Wide Drape
Borrowed straight from the runway version that reignited this trend, this drape uses more product and a wider sweep , from cheekbone across toward the ear , for a bolder, more dramatic finish. It reads best in photos and is a favorite for special-occasion looks.
13. The Double-Drape (Blush + Bronzer Combo)
Layer a warm bronzer just beneath the cheekbone first, then drape your blush directly above it, blending where the two meet. This adds genuine dimension, giving you both the shadow of contour and the flush of color in one motion.
14. The Blush-and-Highlighter Halo Drape
Drape your blush along the upper cheekbone, then dab a touch of cream highlighter directly above it, right at the highest point of the bone. The contrast between the two products amplifies the lifted, sculpted effect far more than blush alone.
15. The Two-Tone Dimensional Drape
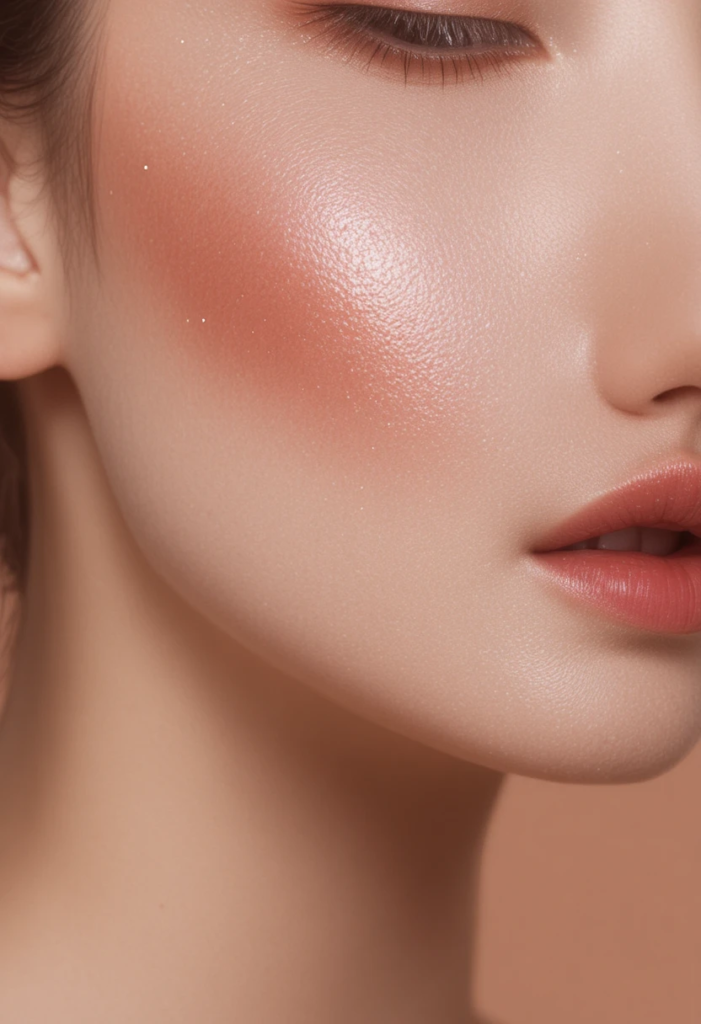
Use two shades of the same family , a slightly deeper tone placed closer to the hairline and temple, and a lighter, brighter tone closer to the center of the cheek. Blend where they overlap. This mimics natural shadow and light instead of one flat wash of color.
16. The Under-Eye Blush Drape
A newer offshoot of the trend: a very light touch of cream blush dabbed just under the eyes and blended into the drape coming up from the cheekbone. This softens the transition between eye and cheek for an ultra-natural, “flushed from within” finish.
17. The Liquid Blush Editorial Drape
Liquid formulas create a bolder, more defined drape because they hold pigment closely where you place them. Use a small brush or your fingertip to sweep liquid blush along the cheekbone in one confident motion — this formula is unforgiving of hesitation, so commit to the line.
18. The Cream-to-Powder Blurred Drape
Cream-to-powder blush blurs beautifully into skin, which makes it the most beginner-friendly option for draping. Apply with fingers or a damp sponge and pat rather than swipe, letting the formula melt into a soft, diffused sweep with zero visible edges.
19. The Everyday Buildable Powder Drape
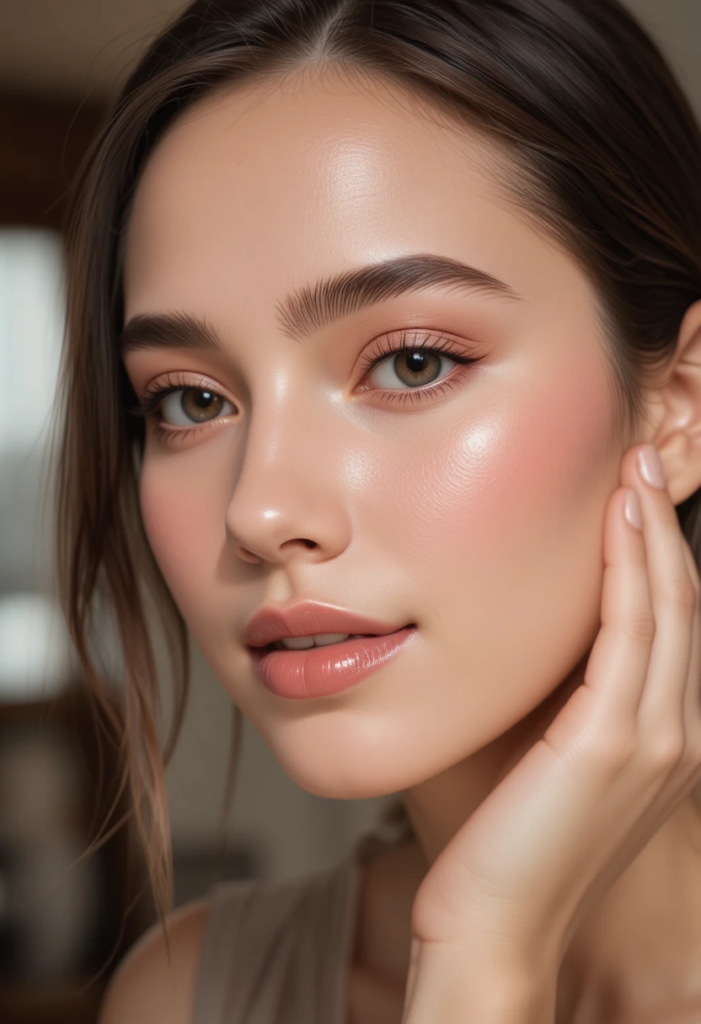
If you’re not ready to commit to cream or liquid, a buildable powder blush still works beautifully for draping — just build it in thin layers rather than one heavy pass. Start light along the cheekbone, check the mirror, then add more only where needed.
Quick Tools That Make Every Drape Easier
- A damp beauty sponge — ideal for blurring cream and liquid drapes with zero harsh lines.
- An angled or tapered cheek brush — designed to hug the curve of the cheekbone for precise powder placement.
- Clean fingertips — often the most underrated tool, especially for cream and liquid formulas that need body heat to melt into skin.
Blush Draping Mistakes to Avoid
So what does this mean for your everyday routine? A few small errors can undo an otherwise great drape:
- Starting at the apple instead of the cheekbone. This is the single most common mistake and the reason a drape ends up looking like regular blush instead of a lifted sculpt.
- Skipping the blend. Draping relies on soft, seamless edges , any visible “line” reads as a mistake rather than a technique.
- Using too little product upfront. It’s far easier to build buildable formulas up than to fix a drape that’s too heavy from the start.
- Ignoring your face shape. A drape that lifts a round face beautifully can add unwanted length to an already long face — placement should always be personalized.
FAQ: Blush Draping Technique
Is blush draping the same as contouring?
Not exactly. Contouring uses cool-toned bronzer or contour shades to create shadow. Blush draping uses your blush color itself to sculpt and lift, so it reads softer and more natural than traditional contour.
What’s the best blush formula for draping beginners?
Cream and cream-to-powder formulas are the most forgiving because they blend easily with fingers and diffuse into a soft finish, making it harder to end up with a harsh line.
Do I need bronzer and highlighter to drape my blush?
No. Draping works beautifully on its own. Bronzer and highlighter are optional add-ons that enhance the effect but aren’t required for the technique to work.
Can blush draping work on mature or textured skin?
Yes — cream and liquid formulas tend to sit especially well on mature or textured skin since they don’t cling to fine lines or texture the way some powders can.
How do I know my face shape for draping?
Look at the width of your forehead, cheekbones, and jawline in a mirror. If they’re roughly equal in width, you likely have a round or square face; if your cheekbones are widest, you may lean oval or diamond; a wider forehead with a narrower chin points to heart-shaped.
Will blush draping look natural for daytime wear?
Absolutely , the cold-girl subtle drape and the cream-to-powder blurred drape are both built specifically for a soft, barely-there daytime finish.
The Takeaway
Blush draping isn’t a single technique , it’s a whole toolkit of placement strategies, and the right one for you depends entirely on your face shape, your formula of choice, and the finish you’re after. Start with the classic cheekbone lift drape to get comfortable with the fundamental motion, then branch out into the shape-specific and style-specific variations above.

