You’ve been doing it wrong. Not the eyeshadow, not the brows , the blush. If you’ve got an oval face and you’re still swirling color onto the apples of your cheeks the same way everyone else does, you’re actually working against one of the most balanced, camera-ready face shapes out there.
Here’s the good news: oval faces are considered the “template” shape in makeup artistry because the proportions are already so even. That means you have more blush freedom than almost anyone ,but it also means the wrong placement can make a naturally balanced face look longer, flatter, or older than it needs to.
So what does this mean for you? It means the next few minutes are about to save you years of guessing. Below are 12+ blush ideas for oval faces, covering placement, formula, shade, and full looks , and the fifth one is the trick most people never even try, even though it’s the one professional makeup artists reach for first.
Save this guide before you forget it , you’ll want to come back to it the next time you’re standing at the mirror deciding between powder and cream.
First, What Actually Makes a Face “Oval”?
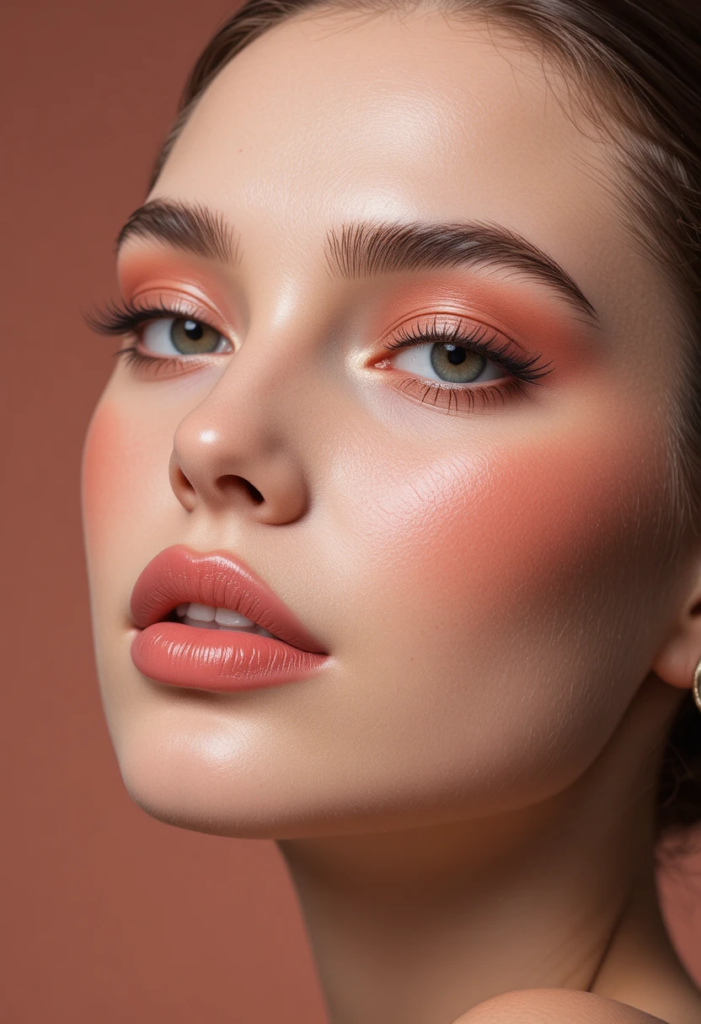
Before picking a blush idea, it helps to know why oval faces get to break the usual “correcting” rules that round, square, or heart-shaped faces follow.
An oval face is longer than it is wide, with a gently rounded jaw, a forehead and jawline that are roughly similar in width, and cheekbones that sit as the widest point of the face. There are no harsh angles to soften and no width to minimize — which is exactly why most blush “hacks” aimed at correcting a face shape simply don’t apply to you.
Here’s the thing: because you’re not correcting anything, blush on an oval face is purely about enhancing. That opens the door to more placements, more finishes, and more creative looks than almost any other face shape can pull off.
1. The Lifted Cheekbone Placement
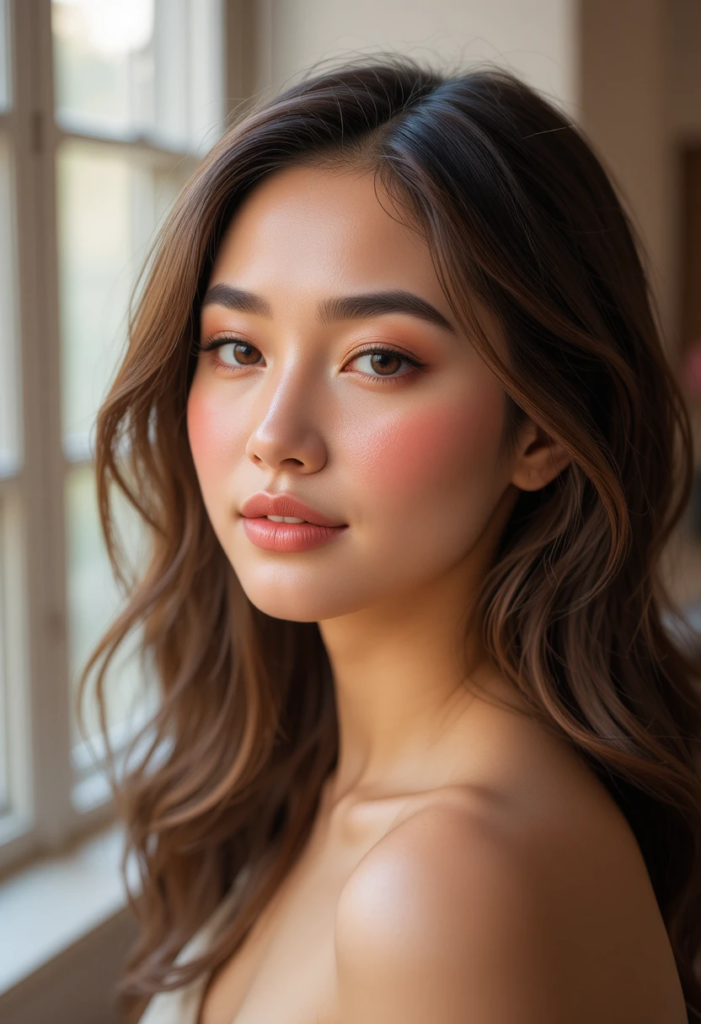
This is the placement most makeup artists reach for first on an oval face, and it’s easy to see why.
Sweep blush along the very top of your cheekbones, starting near the outer corner of your eye and blending back toward your temples and hairline. Keep the color high and resist the urge to bring it down toward your nose.
- Why it works: it draws the eye upward and outward, adding lift without adding width in the wrong places.
- Best for: anyone who wants a sculpted, “your cheekbones did that” kind of finish.
- Pro tip: use an angled brush and apply in upward strokes, never circular ones, to keep the lift intentional.
2. Classic Apples-of-the-Cheeks Placement
This is the placement your mom probably taught you, and on an oval face, it genuinely still works — it’s just not the only placement that works anymore.
Smile, find the rounded “apple” of your cheek, and apply blush there in soft, circular motions, blending it up and slightly out.
- Why it works: it adds softness and roundness to a face shape that can occasionally read as a little long or angular in photos.
- Best for: romantic, girl-next-door makeup days.
- Pro tip: keep the color just above your nostril line so it doesn’t creep into contour territory.
3. The Diffused, All-Over Flush
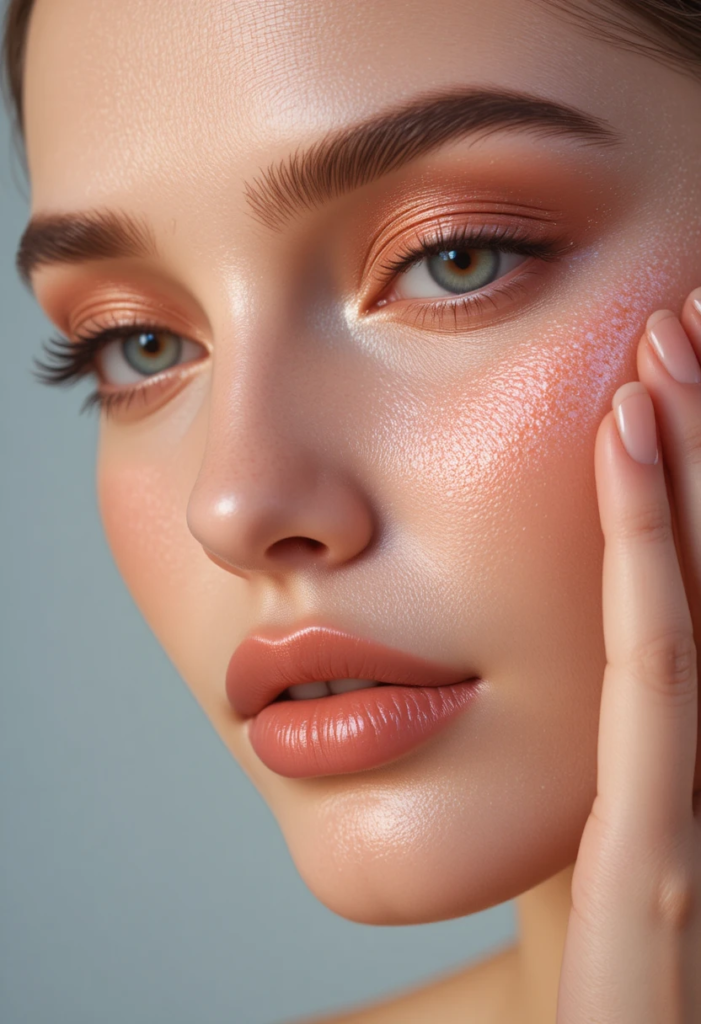
Here’s a look that’s having a real moment right now, and oval faces wear it beautifully.
Apply blush across the tops of your cheeks and blend out toward your temples, exactly like the lifted placement above. Then, using whatever product is left on your brush, add the faintest touch to your nose, chin, and forehead.
- Why it works: it mimics the natural flush your skin gets after a workout or a good laugh, and it keeps color balanced across the whole face rather than isolated to the cheeks.
- Best for: “your skin but better” makeup days, sunny weather, and anyone who wants their blush to look like it’s coming from within.
- Pro tip: this is where a cream or liquid formula genuinely outperforms powder — it melts into skin instead of sitting on top of it.
4. Transition (Under-Eye) Blush Placement
This is the one most people are too intimidated to try , and it’s the trick most people get completely wrong until they actually see it in action.
Apply a small amount of blush just under the outer corners of your eyes, then blend it downward into your cheeks in a soft gradient.
- Why it works: it brightens tired eyes, draws attention upward, and creates a gorgeous gradient effect that photographs beautifully.
- Best for: anyone who wants their blush to double as an eye-brightening trick.
- Pro tip: stop blending once you reach the tops of your cheekbones , dragging the color too low pulls the whole look downward instead of up.
5. Cream Blush for a Lit-From-Within Glow
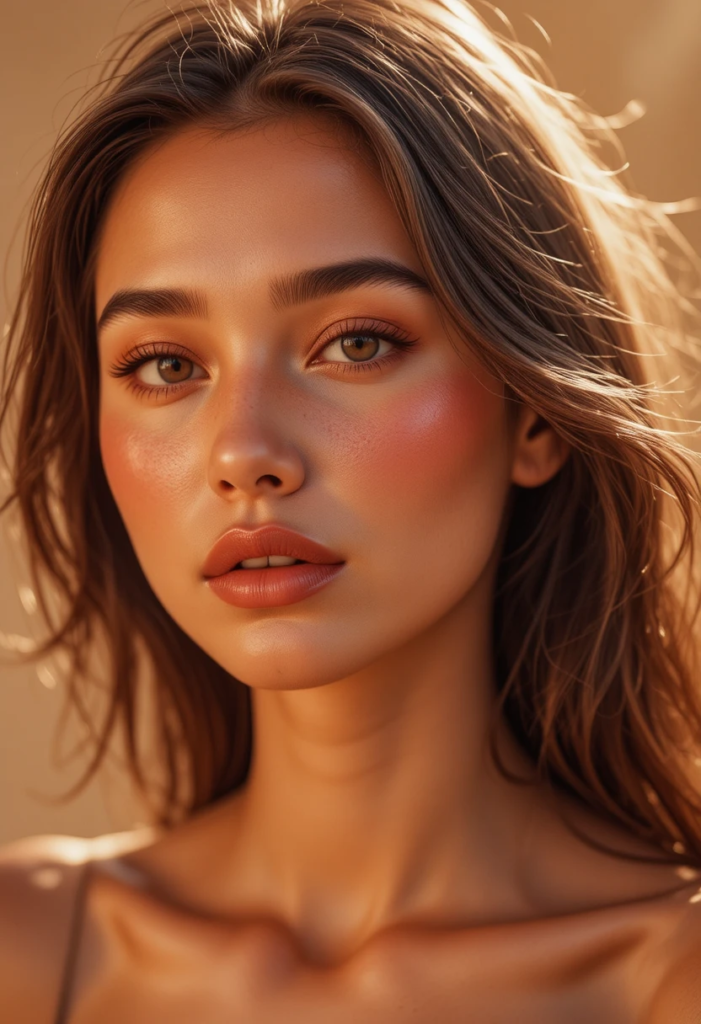
If there’s one formula switch that instantly upgrades an oval face’s natural balance, it’s this one.
Warm a pea-sized amount of cream blush between your fingertips and press (don’t rub) it onto the tops of your cheeks, blending outward with light, patting motions.
- Why it works: cream formulas melt into the skin’s texture instead of sitting on top of it, giving that “your skin, but flushed” look that oval faces , with their naturally balanced proportions , wear especially well.
- Best for: dry or mature skin, minimal-makeup days, and anyone chasing the “clean girl” aesthetic.
- Pro tip: apply cream blush before setting powder for the most natural blend.
Read also: 14+ Whiteheads Treatment Tips That Actually Clear Clogged Pores (For Good)
6. Powder Blush for a Soft-Focus Finish
On the flip side, powder blush still earns its place in every routine , especially for oily or combination skin.
Tap a fluffy brush into your powder blush, knock off the excess, and sweep it across the tops of your cheeks using the lifted placement from idea #1.
- Why it works: powder grips onto oil throughout the day and gives a soft, blurred finish that photographs well without looking wet or shiny.
- Best for: long wear, humid climates, oily skin types.
- Pro tip: build color in thin layers , it’s much easier to add more than to take away.
7. Liquid Blush for a Dewy, Barely-There Flush
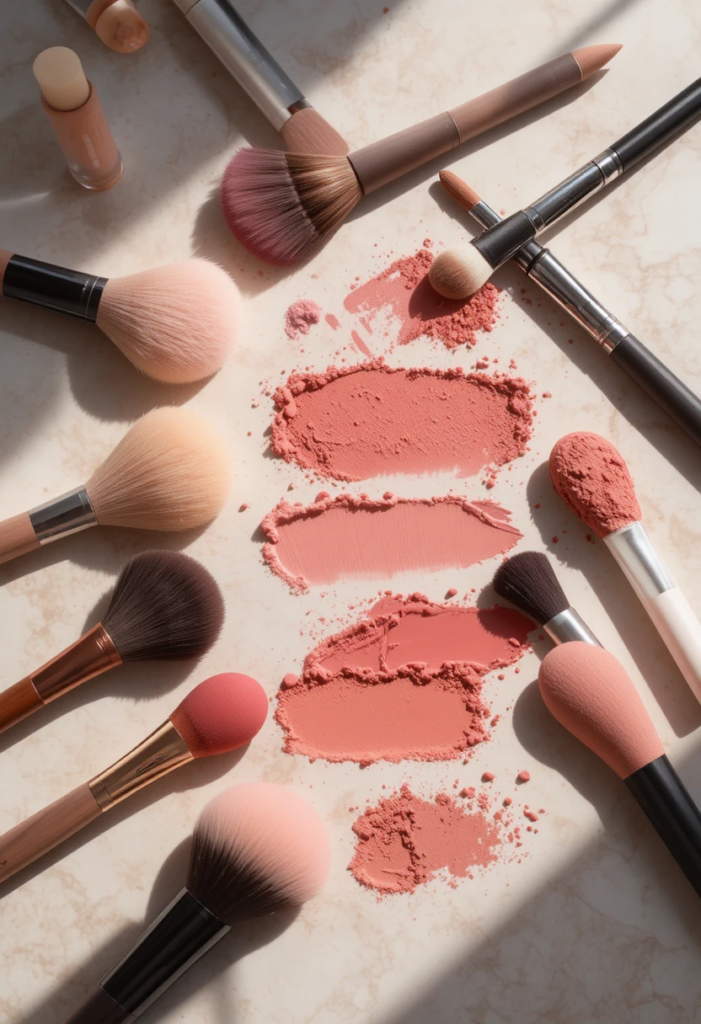
Liquid blush has taken over Pinterest boards for a reason: it’s practically foolproof, and it’s especially forgiving on oval faces because there’s no width to correct , just glow to add.
Dot a few small drops onto the tops of your cheeks and blend quickly with clean fingers or a damp sponge before it sets.
- Why it works: the sheer, buildable formula gives a natural-looking flush that reads as skin rather than makeup.
- Best for: no-makeup makeup days and anyone who wants their blush to blend seamlessly with foundation.
- Pro tip: apply liquid blush before powder products to avoid patchiness.
8. Monochromatic Blush and Lip Combo
Quick summary: one product, two placements, one incredibly cohesive look.
Use the same cream or liquid blush on your lips as you did on your cheeks, patting a small amount onto your lower lip and blending the edges with your fingertip.
- Why it works: matching tones create a soft, romantic, effortlessly put-together look that never feels overdone.
- Best for: date nights, weddings, or any look you want to photograph beautifully in golden-hour light.
- Pro tip: this works best with cream or liquid formulas , powder blush isn’t buildable enough on lips.
9. Bronzed Blush for a Sun-Kissed Look
For a warmer, sunset-inspired flush, swap your usual pink or berry shade for a peachy-bronze blush.
Apply it across the tops of your cheeks using the diffused technique from idea #3, letting it drift slightly toward your temples and the bridge of your nose.
- Why it works: warm undertones mimic a natural tan and add dimension without looking heavy.
- Best for: summer, vacation makeup, and golden-hour photos.
- Pro tip: pair with a cream bronzer at the temples and jaw for a fully sun-warmed finish.
10. Bold, Statement Blush Placement
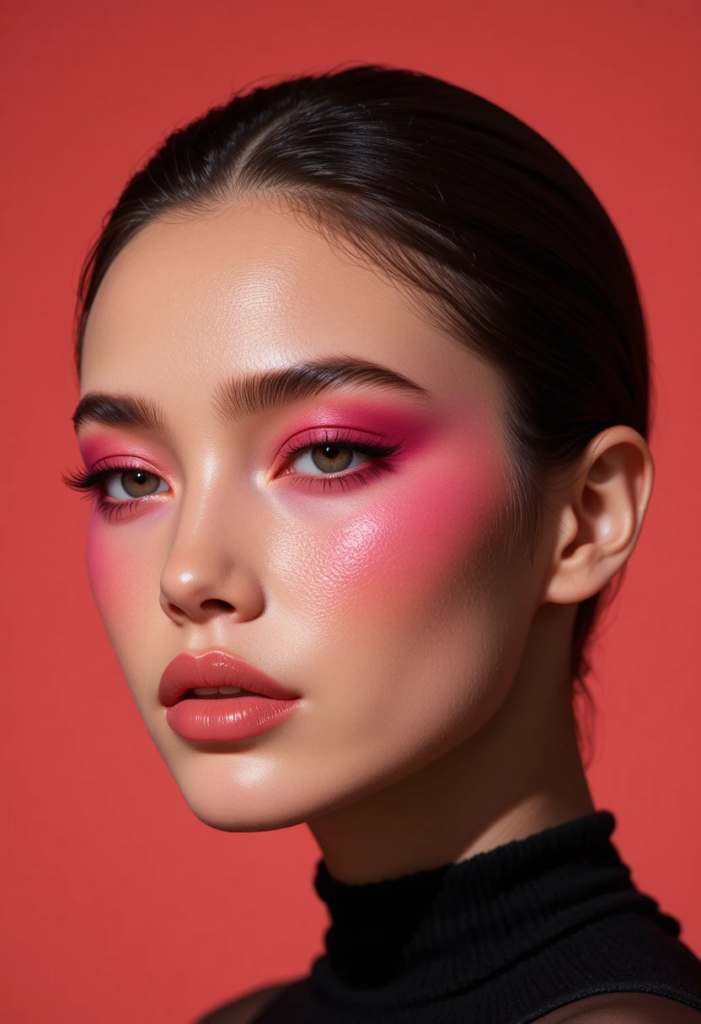
Some days call for subtlety. Other days call for blush that does the talking.
Apply a saturated, pigmented blush , think hot pink, coral, or berry , using the lifted cheekbone placement, then build the color in two or three light layers until it’s fully opaque.
- Why it works: oval faces have enough natural balance to handle bold color without it overwhelming the features.
- Best for: editorial-inspired looks, nights out, or anyone who wants their blush to be the focal point.
- Pro tip: keep the rest of your makeup minimal , a bold blush moment deserves to stand alone.
9. Bronzed Blush for a Sun-Kissed Look
Not every morning has time for a full blush routine, and that’s exactly what makes blush sticks so worth keeping in your bag.
Swipe the stick directly onto the tops of your cheeks in three or four dots, then blend with fingertips or a damp sponge.
- Why it works: it’s a mess-free, travel-friendly way to get the same lifted placement as idea #1 in under ten seconds.
- Best for: busy mornings, touch-ups, and makeup bags that need to stay light.
- Pro tip: keep one in your bag for a midday refresh , a quick swipe revives your whole face without a mirror-side sit-down.
12. Soft Neutral Blush for Everyday Wear
Not every day is a bold-blush day, and that’s more than okay.
Choose a muted, skin-like shade , think dusty rose or soft terracotta , and apply it lightly using the apples-of-the-cheeks placement from idea #2, blending until the edges disappear completely.
- Why it works: it adds just enough color to look healthy and awake without ever looking “done.”
- Best for: work days, school runs, and anyone who prefers their makeup to look effortless.
- Pro tip: a neutral blush shade is the most forgiving place to start if you’re still finding your personal blush “signature.”
13. Bonus: Double-Blush Layering
Here’s a bonus idea worth saving for last, because it ties every technique above together.
Layer a cream blush underneath a powder blush in the same or a complementary shade , cream first for the glow, powder on top to set it and extend the wear.
- Why it works: you get the dewy, skin-melted quality of cream with the longevity of powder, which is exactly why professional makeup artists layer formulas on shoots.
- Best for: special occasions, long days, or anytime you want your blush to survive from morning to night.
- Pro tip: apply the powder layer with a light hand , you’re setting the cream, not covering it up.
The Tools That Make Every Placement Easier
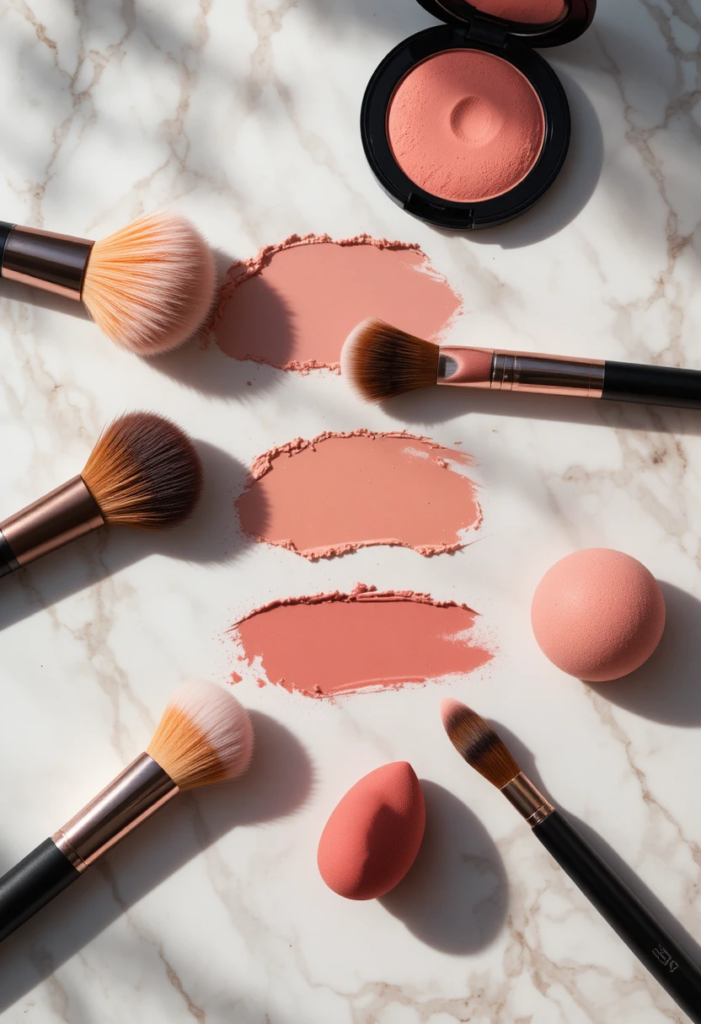
You don’t need a twenty-piece brush collection to nail any of the looks above, but a few key tools make a real difference:
- A small angled brush: ideal for the lifted cheekbone placement (idea #1) because it hugs the bone structure instead of spreading color too wide.
- A fluffy round brush: best for powder blush and the diffused, all-over flush (idea #3), since it blends edges without leaving harsh lines.
- A damp makeup sponge: the fastest way to melt cream and liquid formulas into skin, especially for the monochromatic lip-and-cheek combo (idea #8).
- Clean fingertips: genuinely one of the best “tools” for cream and liquid blush — body heat helps the product blend into a natural-looking flush that a brush sometimes can’t replicate.
Here’s the thing: the tool matters less than the motion. Circular motions soften and round out color, while upward sweeping strokes lift and sculpt. Once you know which effect a placement is going for, you can reach for whatever brush is already in your bag.
Common Blush Mistakes to Avoid on an Oval Face
Even with a balanced face shape, a few habits can undo an otherwise great blush look. Watch out for these:
- Going too low. Blending blush down past the cheekbone drags the whole face downward instead of lifting it — the opposite effect most of these placements are designed to create.
- Skipping the blend. A harsh, unblended edge is the fastest way to make any placement look unfinished, no matter how flattering the shade is.
- Matching intensity to the wrong occasion. A bold statement shade (idea #10) can feel like a lot for a Tuesday morning, just as a barely-there neutral (idea #12) can get lost under stage or event lighting.
- Ignoring your existing flush. If your cheeks already have a natural pink or peach undertone, working with it — not against it — makes blush application faster and far more foolproof.
- Applying blush before your base makeup has set. Blush applied over foundation that’s still tacky can drag, patch, or pill, especially with cream and liquid formulas.
But there’s a catch: none of these mistakes are permanent. Blush is one of the most forgiving products in your routine — a damp sponge and a few extra minutes of blending can fix nearly anything.
Building a Blush Wardrobe: One Shade Isn’t Enough
Just like you wouldn’t wear the same lipstick for a beach day and a boardroom meeting, one blush shade rarely covers every mood, season, and occasion. A well-rounded “blush wardrobe” for an oval face typically includes:
- One everyday neutral (idea #12) for low-effort mornings.
- One warm, bronzed shade (idea #9) for sunnier months and vacation makeup.
- One bold, saturated shade (idea #10) for nights out or special events.
- One cream or liquid formula (ideas #5 and #7) for glowy, no-makeup makeup days.
Building this small rotation means you’ll always have the right placement-and-shade combination on hand, no matter what the day calls for.
Choosing the Right Blush Shade for Your Skin Tone
Placement and formula matter, but shade ties the whole look together. Here’s a quick, save-worthy cheat sheet:
- Fair skin: soft pinks, baby pink, and light peach.
- Light-medium skin: rose, coral, and warm mauve.
- Medium-olive skin: terracotta, warm berry, and brick.
- Deep skin: rich berry, deep coral, and vibrant fuchsia.
No matter your undertone, the golden rule holds: pinch your cheek and match the flush that naturally appears — that’s almost always your most flattering blush family.
Frequently Asked Questions
Where should blush go on an oval face? The most universally flattering placement is high on the cheekbones, blended back toward the temples. Because oval faces don’t need width correction, you can also experiment with apple, diffused, or transition placements depending on the look you’re after.
Should oval faces avoid blush on the apples of the cheeks? Not at all. Apple placement is completely safe for oval faces , it simply creates a softer, more romantic effect than the lifted cheekbone placement, which reads as more sculpted.
Is cream or powder blush better for oval faces? Neither is “better” , it depends on your skin type and the finish you want. Cream and liquid formulas give a dewy, skin-like glow, while powder offers a soft-focus finish with longer wear, especially on oily skin.
Can oval faces wear bold, bright blush shades? Yes. Because oval faces are naturally balanced, they can carry saturated, statement blush shades without the color overwhelming the features , something more angular or elongated face shapes sometimes have to approach more carefully.
How much blush is too much for an oval face? If the color is visible from across a room in a way that feels distracting rather than flattering, it’s time to dial it back with a clean brush. Building color gradually in thin layers is always easier to correct than trying to remove a heavy-handed application.
Do I need contour if I already have an oval face shape? No , contour is optional for oval faces, since there’s no width or angle that genuinely needs correcting. Many of the placements above, like the diffused flush or lifted cheekbone sweep, can stand entirely on their own without any contour underneath.
Seasonal Blush Ideas Worth Saving
Blush doesn’t have to stay the same all year , and rotating your placement or shade with the seasons is an easy way to keep your routine feeling fresh.
- Spring: lean into soft neutrals (idea #12) or the classic apple placement (idea #2) for a fresh, romantic finish that pairs well with lighter foundation coverage.
- Summer: the bronzed, sun-kissed look (idea #9) paired with a liquid formula (idea #7) gives that lit-from-within glow that holds up in heat and humidity.
- Fall: deepen your shade into terracotta or brick tones and try the double-blush layering technique (bonus idea #13) for longer wear through busy days.
- Winter: a rosy, cool-toned blush applied with the transition placement (idea #4) mimics that just-came-in-from-the-cold flush in the most flattering way possible.
Pin this seasonal breakdown so you always know which placement and shade to reach for as the weather changes.
Final Thoughts: Your Cheeks, Your Rules
If there’s one thing to take away from all twelve-plus ideas above, it’s this: an oval face isn’t a shape you have to correct , it’s a canvas you get to play with. Whether you’re reaching for a lifted cheekbone sweep, a diffused all-over flush, or a bold statement shade, every placement on this list is designed to work with your natural proportions instead of against them.

