Ever notice how your favorite K-drama lead never looks like she’s “wearing lipstick” — she just looks like she got caught kissing someone five minutes ago? That’s the gradient lip. It’s the single most requested look in K-beauty tutorials, and once you know the trick, you’ll never go back to a flat, one-shade pout again.
If you’ve tried to recreate it before and ended up with two harsh blocks of color instead of a soft blur, you’re not alone. The difference between “gradient lips” and “smudged lipstick” comes down to technique, timing, and product choice — not talent. Below are 11+ ways to nail the Korean gradient lip, from the classic beginner method to advanced color-blocking variations you’ve probably seen going viral on Pinterest and TikTok.
Grab your favorite tint, and let’s get into it.
What Exactly Are Korean Gradient Lips?
Before we get to the techniques, it helps to understand the theory behind the trend. The Korean gradient lip (sometimes called the “ombre lip” or “bitten lip”) concentrates pigment at the center of the lips and fades it outward, so the color looks deepest in the middle and barely-there at the corners.
This isn’t just a pretty effect — it’s an optical illusion. Fuller lips can look plumper and more youthful, since the eye reads the darker center as “closer” and the lighter edges as receding. It’s the same principle as makeup shading, just applied to your mouth. Pair that with the soft, no-effort finish, and it’s easy to see why this look has stayed relevant in Korean beauty for over a decade.
The golden rule across every method below: apply color to the inner third of your lips first, then work outward while the product is still wet. Wait too long and it sets before you can blend, which is the #1 reason gradient lips go wrong.
1. The Classic Center-Dab Method (Best for Beginners)
This is the technique almost every tutorial starts with, and for good reason — it’s foolproof.
- Prep lips with balm, then blot off the excess so product doesn’t slide around.
- Apply your chosen tint or lipstick to the very center of your top and bottom lip — think of it as a small dot, not a full swipe.
- While it’s still wet, press your lips together gently in an open-close motion (never side to side) to push the color toward the edges.
- Repeat pressing until the color fades naturally into your natural lip tone.
This method works because pressing (not rubbing) preserves the soft edge instead of smearing it into a muddy line. It’s the safest place to start if you’ve never done a gradient before.
2. The Fingertip Blend
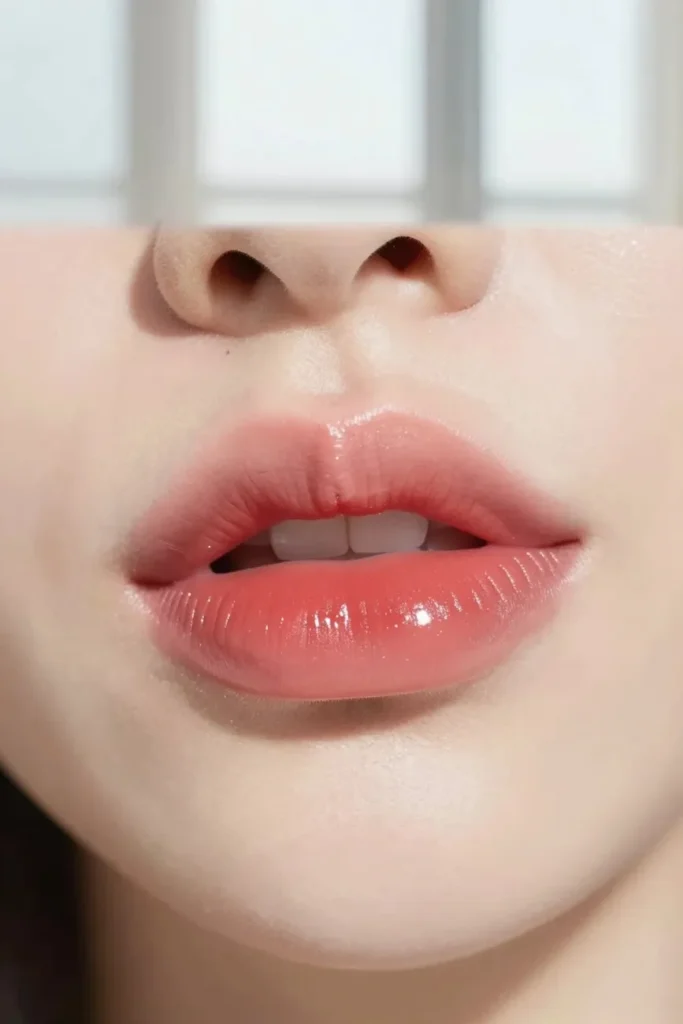
Some makeup artists swear this gives more control than pressing your lips together, especially if you have thinner lips or want a very precise gradient.
- Dot the tint onto the center of your lips as above.
- Using your ring finger (it applies the lightest pressure), pat and blend the color outward toward the corners.
- Keep going until you can’t see a hard edge where the color stops.
The fingertip method is especially good for cream or gel-based tints, since your body heat helps melt the product into a seamless fade.
3. Two-Tone Tint Layering
Instead of using one product, this idea uses two different shades to build depth.
- Start with a light, sheer tint as your base — swipe it over your whole lip evenly.
- Once that sets slightly, add a darker or more saturated shade only to the center.
- Blend the darker shade outward using the press-and-dab motion so it melts into the lighter base.
This creates a richer, more dimensional gradient than a single product can achieve, and it’s a great way to use up two lip products that don’t quite match on their own.
4. Two-Tone Lip Bars (One Product, Built-In Gradient)
If blending two separate products sounds fussy, several Korean beauty brands sell dual-color lip sticks designed specifically for this look — one end lighter, one end deeper, meant to be swiped and blended together.
- Apply the lighter shade first over the whole lip.
- Add the darker end to the center only.
- Blend as usual.
These are genuinely handy for on-the-go touch-ups since you only need to carry one product instead of two.
5. The Overlined Center Method
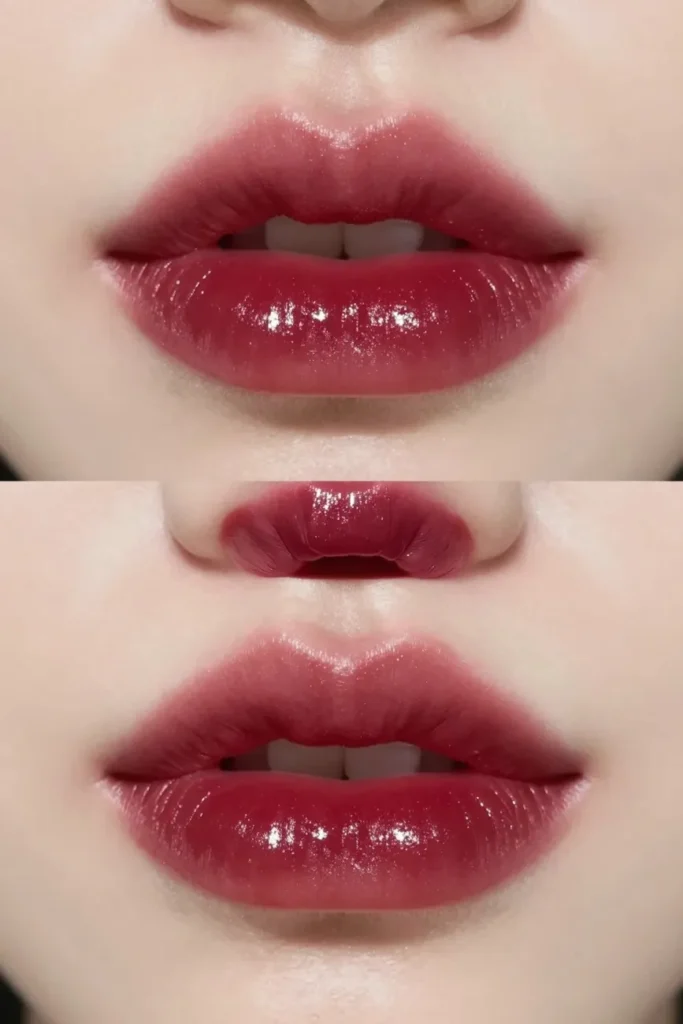
This variation plays with lip shape as well as color.
- Slightly overline just the center of your top lip’s cupid’s bow with a nude or your natural lip liner shade before adding your tint.
- Apply your gradient color as usual, keeping it concentrated on the overlined center.
- Blend outward so the lighter edges taper back toward your natural lip line.
The subtle overlining can make lips look fuller and more evenly shaped without looking obviously “lined,” since it’s hidden under the gradient color.
6. Concealer-First Gradient (For Bold, Dramatic Color)
If your natural lip color is darker or uneven and you want a true, vivid gradient rather than a subtle wash, this prep step changes everything.
- Dab a thin layer of concealer over your lips using a small brush, then blot.
- This neutralizes your natural pigmentation so whatever color you apply next shows up true-to-shade.
- Apply your gradient as usual — the color will look far more vibrant and consistent, which is especially useful for red or deep berry shades.
This is the go-to trick for the more dramatic, high-impact gradient looks you’ll see in editorial-style K-beauty tutorials.
7. The Popsicle Lip (Barely-There Version)
Named for its “just ate a popsicle” effect, this is the softest, most natural version of the gradient — perfect for daytime or office wear.
- Use only lip balm or a clear gloss on the outer two-thirds of your lips.
- Apply the sheerest tint you own to just the very center.
- Blend gently — the goal is barely-there color that almost disappears into your natural lip tone.
Because there’s so little product involved, this version is incredibly quick and works well even for makeup beginners who feel nervous about “doing it wrong.”
Read More : 11+ Tom Ford Blush Look Ideas That Turn Heads (Blush, Contour & Highlight Guide)
8. Glossy Gradient Finish
Want your gradient to look extra juicy and dewy rather than matte? Add a top layer.
- Complete any gradient method above using a tint or thin lipstick.
- Once blended, dab a small amount of clear or lightly tinted gloss only over the center of your lips.
- Avoid applying gloss all over, or you’ll lose the gradient effect entirely.
This creates the glassy, “just-glossed” look that’s especially popular for date-night or evening makeup.
9. Matte Gradient (Longer-Wearing Version)
Matte gradients are trickier since matte formulas set fast and don’t blend as easily, but they last far longer than glossy versions.
- Use a thin-textured matte tint (not a heavy matte lipstick, which will be too hard to blend).
- Work fast — dab the color in the center and blend immediately, within seconds, before it sets.
- If needed, use a clean fingertip dipped in a touch of balm to soften any harsh edges after it dries.
This version photographs beautifully and holds up well through meals, making it a favorite for full-day wear.
10. Bottom-Lip-Only Gradient
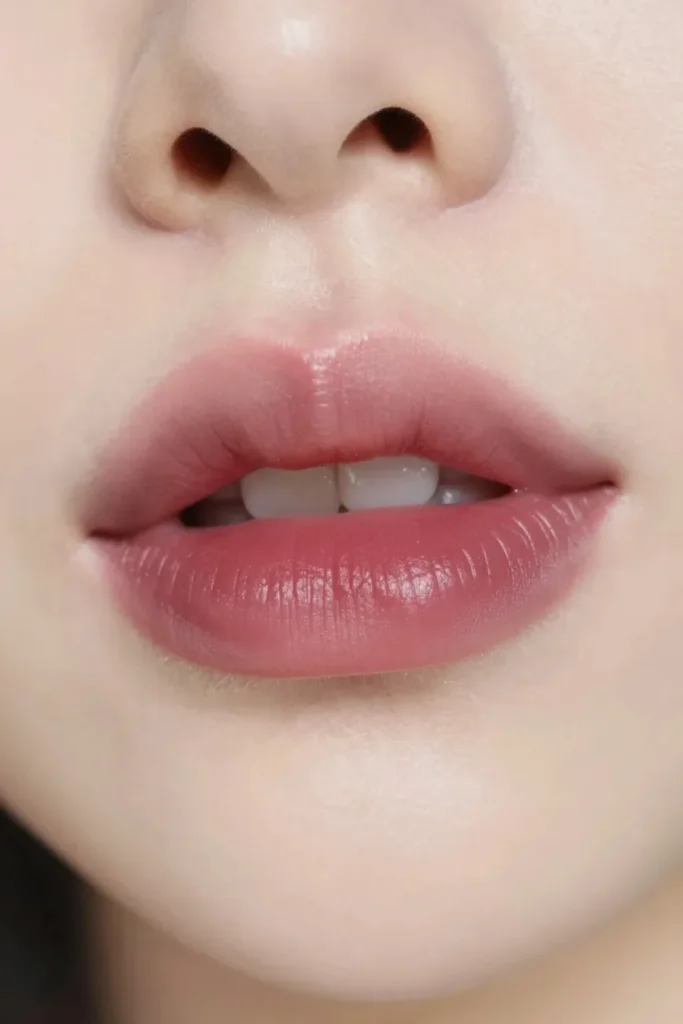
Not every gradient needs to cover both lips fully. This minimalist variation focuses the color only on the lower lip.
- Apply your tint to the center of your bottom lip only, blending outward as usual.
- Leave the top lip bare, or add just a touch of balm or gloss.
- Press lips together lightly to transfer a soft hint of color to the top lip naturally.
This creates an asymmetrical, effortless look that’s popular for “no-makeup makeup” days.
11. Color-Blocked Corner Gradient
A more editorial, TikTok-viral variation that flips the classic gradient inside out.
- Apply a lighter or nude shade to the very center of your lips.
- Apply a bolder, contrasting color only at the outer corners, blending inward so the two shades meet in a soft transition zone.
- Blend the meeting point thoroughly so there’s no visible line.
This creates a completely different visual effect than the traditional center-out gradient and is a fun way to experiment with two contrasting shades, like a soft pink center fading into a deeper berry corner.
Bonus Idea: Multi-Tone Ombre (Three Shades)
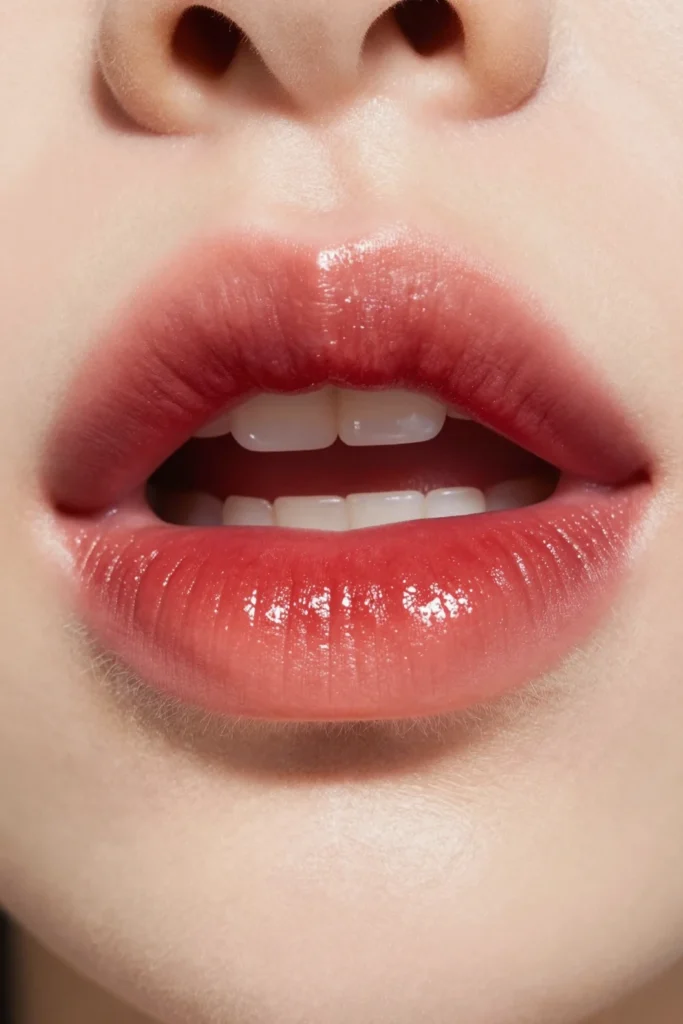
For anyone who wants to push the technique further, try blending three shades in one gradient: a sheer base across the whole lip, a mid-tone through the middle section, and your most saturated shade concentrated in the very center. Blend each transition point while wet, working from the outer shade inward. It takes a bit more patience, but the dimensional result looks incredibly professional.
Quick Tips to Make Any Gradient Lip Look Last
- Hydrate first. Dry, flaky lips break up color unevenly no matter which technique you use, so a lip mask or balm the night before makes a real difference.
- Blend while wet. This is the single most important rule — once a tint sets, it won’t blend, it’ll just smear.
- Press, don’t swipe. Wiping your lips side to side (with a tissue or your lips against each other) ruins the fade. Always use a gentle open-close or dabbing motion.
- Carry your shade for touch-ups. Gradient lips fade unevenly throughout the day, so having your tint on hand keeps the look intact.
- Choose thin, buildable formulas. Lip tints and stains blend far more easily than traditional creamy lipsticks, which tend to set into a hard line.
Frequently Asked Questions
Do I need lip liner for gradient lips?
No — most Korean gradient techniques skip liner entirely and rely on blending instead of a defined edge. A liner can help if you’re overlining slightly, but it’s optional.
What’s the easiest gradient method for beginners?
The classic center-dab method (Idea #1) is the most forgiving since it only requires one product and a simple pressing motion.
Can I do a gradient lip with regular lipstick instead of a tint?
Yes, but thinner, more buildable formulas blend more easily than heavy matte lipsticks, which can set too fast to fade smoothly.
How long do gradient lips typically last?
It depends on the formula — glossy versions need more frequent touch-ups, while matte tints tend to hold their color longer through the day.
Final Thoughts
The beauty of the Korean gradient lip is that there’s no single “correct” version — it’s a technique you can adapt to your own lip shape, color preferences, and how bold or subtle you want to go. Start with the classic center-dab method, get comfortable with the press-and-blend motion, and then have fun experimenting with the other ideas above. Once you’ve got the timing down, a gradient lip takes less than a minute and instantly elevates any makeup look.

